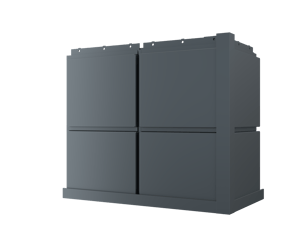

Flat
Sleek, flat design.
%20LG%20AI%20Retouch%20(1)%20(1).jpg?width=300&name=Offices%20at%20Overlook%20-%20Zeef%20Panel%20Systems%20(07)%20LG%20AI%20Retouch%20(1)%20(1).jpg)
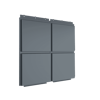
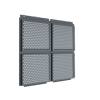
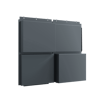
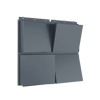
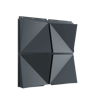
Cost-Effective Standardized Panel Solution
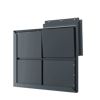
.080"
VE Solution.
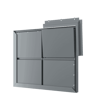
.063" & .050"
VE Solution
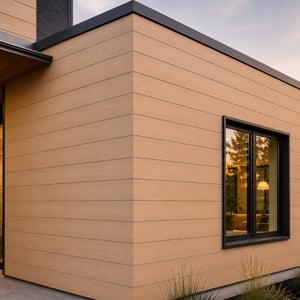
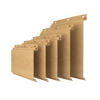
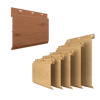
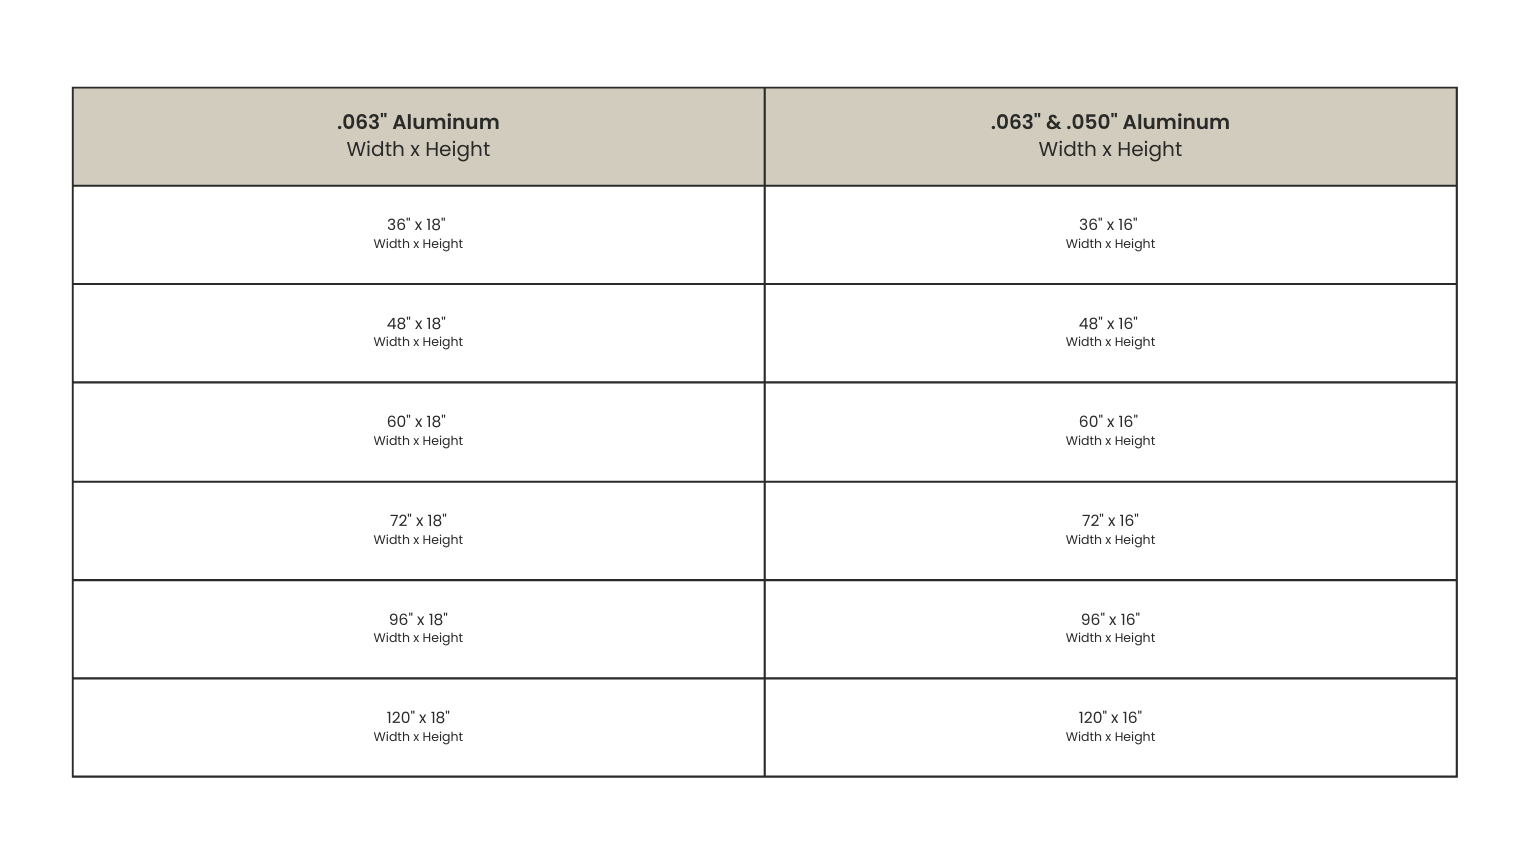
Origin Lite delivers premium performance without the premium price, using a streamlined manufacturing process and targeted size options. Available in thinner .063" and .050" aluminum gauges, it’s the perfect choice for projects that demand top-tier results while staying on budget.
%20(1).png?width=7500&name=1%20(1)%20(1).png)
%20(1).png?width=7500&name=4%20(1)%20(1).png)
Install the 2 piece J extrusion backpiece where needed.
Drill weep holes as need at the bottom.
%20(1).png?width=7500&name=3%20(1)%20(1).png)
%20(1).png?width=7500&name=7%20(1)%20(1).png)
Field trim panels as needed to accommodate site conditions.
Begin installation at the bottom left corner of the assembly.
%20(1).png?width=7500&name=11%20(1)%20(1).png)
%20(1).png?width=7500&name=13%20(2)%20(1).png)
%20(1).png?width=7500&name=14%20(2)%20(1).png)
.png?width=75&name=Color%20charts%20(2).png)
-1.png?width=75&name=Color%20charts%20(2)-1.png)

.png?width=300&name=ChatGPT%20Image%20Aug%2010,%202026,%2004_55_05%20PM%20(1).png)
.png?width=412&name=Meet%20our%20team%20(2).png)